How to set up the welding table correctly?
A properly positioned welding table is the key to precise and safe welding. A stable and well braced work surface allows you to work efficiently and achieve the best results. GPPH is known in the welding market for producing high-quality welding tables and fixtures that are strong and stable. In this article, you will find a step-by-step guide on how to properly set up a welding table, including adjusting the height and stability for your welding tasks.

Step 1: Selecting a location
- 1.1 Prepare the work area: Choose a well-ventilated place with enough space to move freely and work safely. Make sure the floor is level so that the table is stable.
- 1.2 Removal of flammable materials: Remove all flammable materials and make sure there are none nearby as well. This minimizes the risk of fires and accidents.
Step 2: Assembly of the welding table
- 2.1 Follow the instructions: Most welding tables need to be assembled by yourself by screwing the legs to the welding table top. If this is the case, please read the assembly instructions carefully.
- 2.2 Sort parts: Sort all the parts and tools needed for assembly. This simplifies the assembly process and ensures that no parts are missing.
Step 3: Adjust the height of the table
- 3.1 Ergonomic height: Adjust the height of the welding table so you can work in a comfortable and ergonomic position. An incorrect working height can lead to back and neck pain.
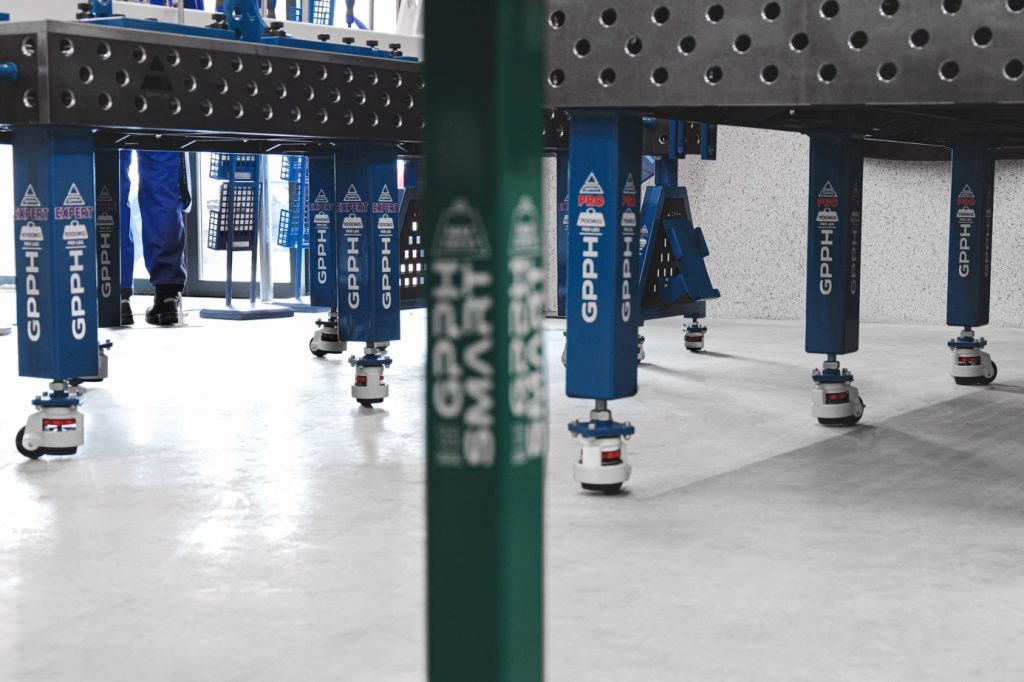
- 3.2 Height-adjustable legs: Many welding tables, especially those from GPPH, have height-adjustable legs. Adjust the legs accordingly to achieve a comfortable height.
Step 4: Ensure stability
- 4.1 Leveling: Use a spirit level to make sure the table's work surface is completely level. Adjust the table legs until the level indicates that the table is level.
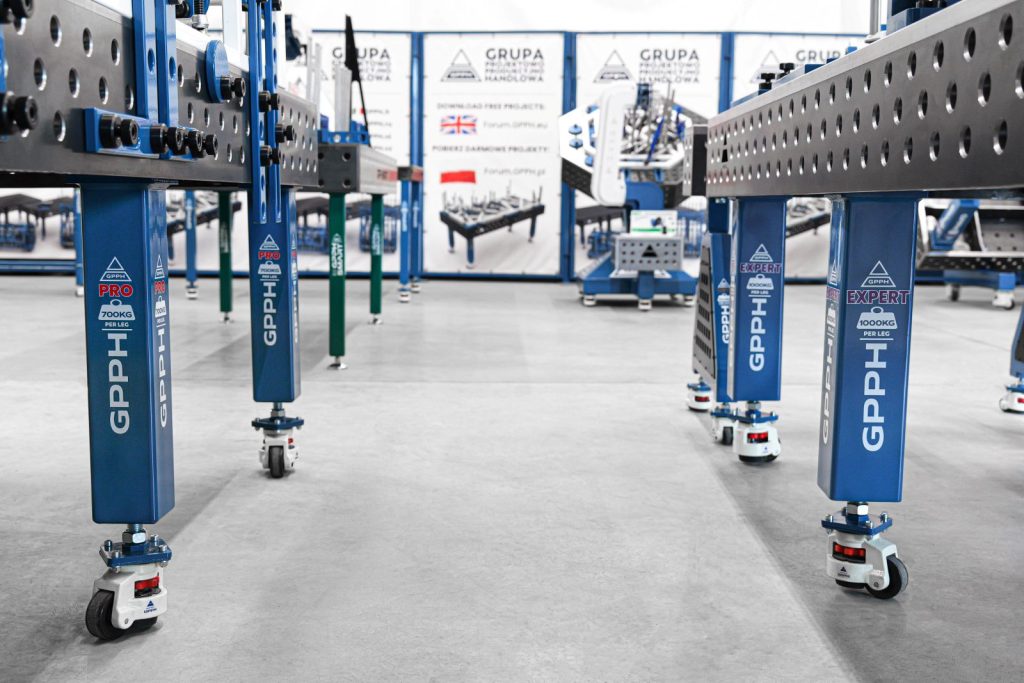
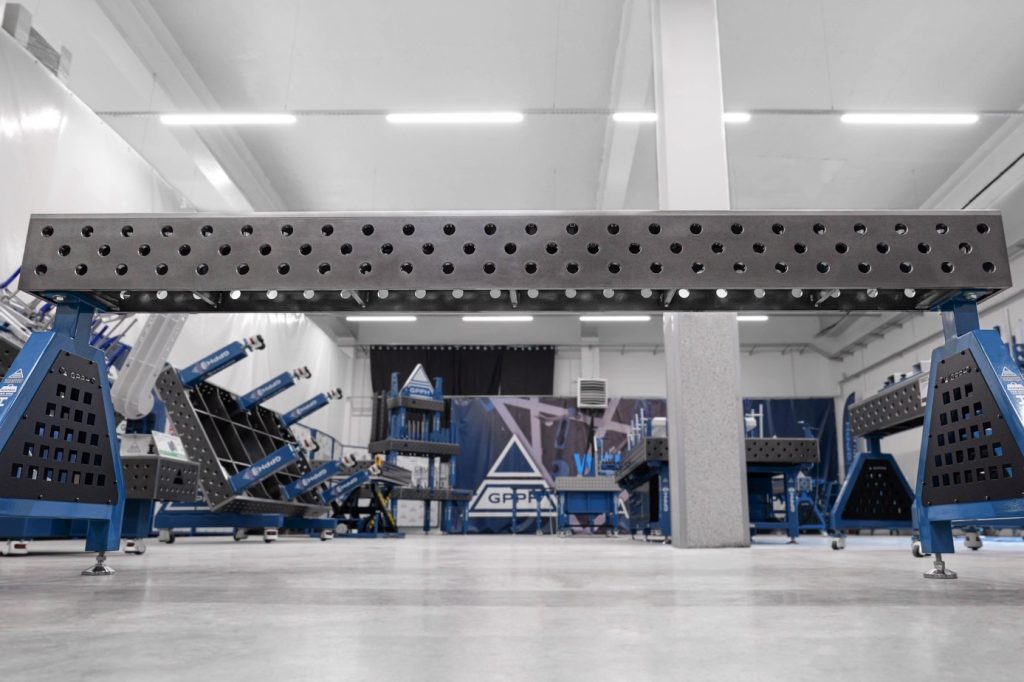
- 4.2 Stability: You can choose a welding table on feet or on wheels. Wheeled ones have extendable feet that provide safety and stability during use. Tables with feet on wheels, on the other hand, offer better stability, which can be important when working with heavy objects.

Step 5: Prepare the work surface
- 5.1 Cleaning: Thoroughly clean the work surface to make sure there are no residues or contaminants that could affect the welding work. For this, use HD Cleaner concentrate from GPPH CHEM.
- 5.2 Storage: Arrange tools and materials so that they are easily accessible. Use shelves and tool carts to keep your work area organized.
Step 6: Safety measures
- 6.1 Provide fire extinguishers: Make sure there is a working fire extinguisher nearby. In the event of a fire, you can respond quickly and extinguish the fire.
- 6.2 Protective Accessories: Always wear appropriate protective equipment such as a welding visor, gloves and long-sleeved clothing. These welding accessories protect you from sparks, radiation and other hazards.
Step 7: Inspection and maintenance
- 7.1 Regular inspection: Regularly check the condition of the welding table. To protect welding tables, PROTECTOR anti-scratch concentrate is ideal, which also protects and protects the table surface.
- 7.2 Maintenance: Keep the welding table clean and in good condition. Regularly remove welding spatter and other residues with GPPH CHEM chemistry to prolong the life of the table.

Summary
The correct positioning of a welding table is crucial to the efficiency and safety of welding work. By opting for a high-quality welding table like the one offered by GPPH, you are assured of a stable and durable work surface. Follow this step-by-step guide to set up a welding table in your workshop or shop floor in the best possible way.
